What should you pay attention to when using ultra translucent zirconia?
2025-07-14
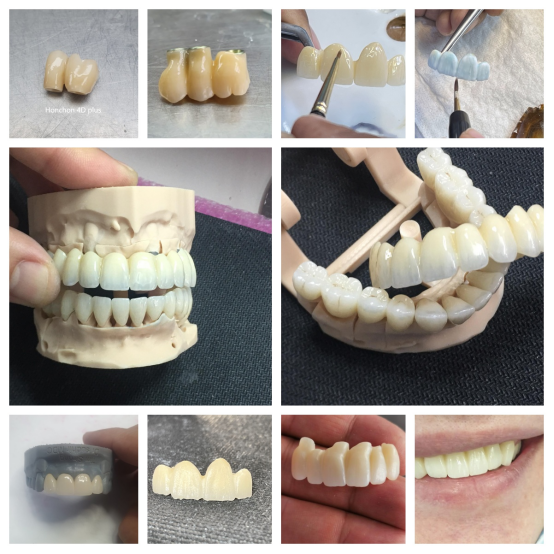
Dental zirconia blocks have become the preferred material in restorative dentistry due to their exceptional strength, aesthetics, and biocompatibility. However, to fully harness their benefits and avoid complications, dental professionals must pay close attention to several key aspects during the workflow—from storage and handling to design, milling, and sintering.
In this article, we’ll explore the critical considerations when working with dental zirconia blocks, especially in CAD/CAM environments.
")
1. Proper Storage Conditions
Zirconia blocks are sensitive to moisture and contamination before sintering.
Keep blocks sealed in their original packaging until use.
Store in a dry, clean environment at room temperature.
Avoid prolonged exposure to high humidity, dust, or chemical vapors.
Tip: Improper storage can cause surface contamination or affect bonding performance after sintering.
2. Pre-sintering Quality Check
Before processing, inspect the zirconia block:
No cracks or surface defects
No discoloration or stains
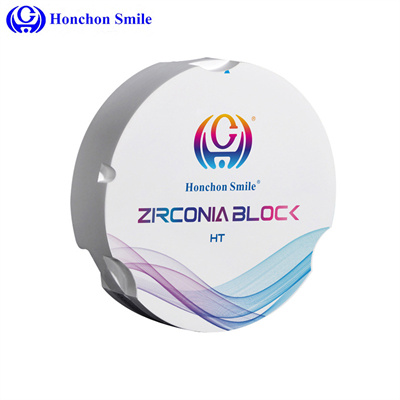
Confirm the batch number and product type (HT, ST, UT, multilayer, etc.)
If the block shows any unusual signs, it should not be used for clinical restorations.
3. Correct CAD Design Principles
Designing a crown or bridge with zirconia requires understanding its properties.
Minimum wall thickness:
Posterior crowns: ≥1.0 mm
Anterior crowns: ≥0.8 mm
Bridges: Connector area ≥9 mm² (based on manufacturer guidance)
Avoid sharp edges or sudden transitions—these can become stress concentration points that lead to fractures after sintering.
A well-optimized design reduces material waste and improves long-term durability.
4. Milling Parameters and Machine Compatibility
Zirconia blocks are usually pre-sintered (soft stage) and require precise milling.
Always select the correct block size and holder system (e.g., 98mm with step, 95mm, or AG-type).
Ensure your milling burs are compatible and not worn out. A dull bur can cause chipping or heat damage.
Set appropriate spindle speeds and feed rates as recommended by your machine/software provider.
Using the wrong milling settings can compromise marginal integrity and surface finish.
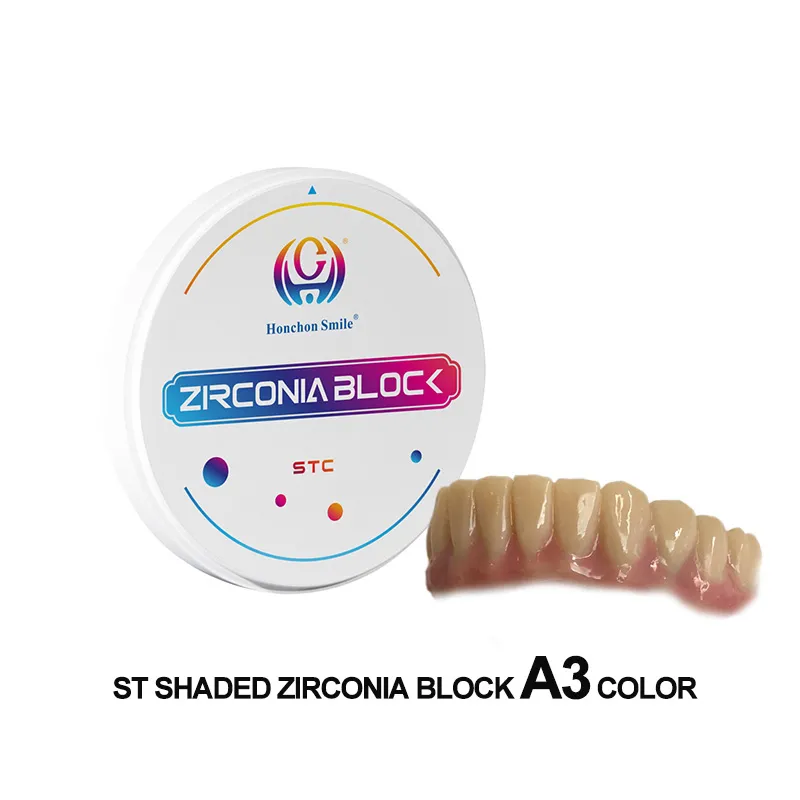
5. Coloring and Pre-Shaded Options
If using white zirconia, you may need to apply coloring liquids before sintering.
Follow manufacturer instructions for:
Application method (immersion, brush, or spraying)
Dye penetration time
Drying conditions before sintering
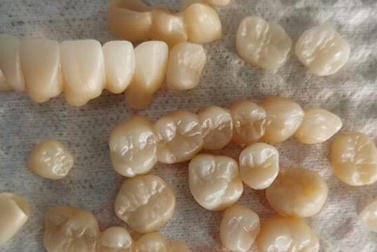
Alternatively, pre-shaded zirconia blocks (such as multilayer ST, UT, or 4D blocks) eliminate this step, ensuring more consistent shade outcomes and saving time.
6. Sintering: Time, Temperature, and Curve Control
Sintering is the most critical stage—it directly affects the mechanical properties, fit, and color accuracy of the final restoration.
Key sintering tips:
Pre-dry the restoration if coloring liquids are applied
Use a clean, calibrated sintering furnace
Follow the recommended sintering curve (e.g., 1450–1550°C for 2–8 hours depending on the block type)
Avoid overloading the tray or stacking restorations too close together
Use supporting beads or firing pads to prevent distortion
Even a small deviation in sintering temperature can cause shrinkage errors or translucency loss.
7. Post-Sintering Finishing and Polishing
After sintering:
Sandblast with fine alumina (50 μm or less) if needed—use light pressure
Avoid aggressive grinding or adjusting with coarse burs
Use diamond polishing systems or glazing pastes to achieve a smooth, enamel-like finish
A high-polish finish reduces plaque accumulation and improves patient comfort.
8. Try-In and Cementation Tips
Zirconia is highly stable, but its inert surface requires special attention during bonding.
Clean the inner surface with zirconia cleaner or alcohol
Sandblast lightly (if allowed by manufacturer)
Use resin cement with a primer containing MDP monomer for best adhesion
Avoid traditional glass ionomer cements for high-stress areas
9. Common Mistakes to Avoid
Milling without tool calibration
Incorrect sintering temperature or curve
Poor drying before sintering (especially after coloring)
Using expired or low-quality zirconia blocks
Polishing with inappropriate tools that damage the surface
Conclusion: Precision Matters at Every Step
Dental zirconia blocks are powerful tools—but they require attention to detail at every stage to achieve optimal outcomes. By following best practices in storage, design, milling, and sintering, you can deliver restorations that are strong, aesthetic, and long-lasting.
Need Help Choosing the Right Zirconia Blocks?
At HONCHON SMILE, we provide:
Pre-shaded and white zirconia blocks
ST, HT, UT, 4D multilayer options
95mm, 98mm, AG-compatible formats
OEM services and technical support for global partners
Contact our team to find the best zirconia materials for your workflow.
Visit: www.honchon.com
Email: info@honchon.com